
What if your deadlift failure isn't actually a lack of raw strength, but a series of technical leaks draining your power? You've likely felt the frustration of your grip failing just inches from a lockout or your lower back aching after a heavy session. It's discouraging when your muscles are ready but your mechanics aren't. Identifying common deadlift mistakes and how to fix them is the most direct path to turning a stagnant lift into a new personal record. At Team Industry UK, we're here to help you plug those leaks with pragmatic, professional adjustments that prioritize your long-term safety and performance.
You deserve to pull with absolute confidence, knowing your hips won't shoot up and your spine remains protected. This guide provides the technical fixes and gear strategies you need for a pain-free 1RM. We'll show you how to leverage tools like Leather Weight Lifting Straps and a 13mm Lever Belt from Team Industry UK to maximize your bracing and grip. We'll also cover the 2026 IPF rule updates on knee lockout and equipment to ensure your technique meets the highest standards. Get ready to transform your pull into a more efficient, powerful movement that reflects the operational excellence required in manual and technical roles.
Key Takeaways
- Learn how to optimize your bar path by correcting foot placement and eliminating the bar distance trap for a more efficient start.
- Identify common deadlift mistakes and how to fix them, including why your hips might shoot up early and how to pull the slack out of the bar.
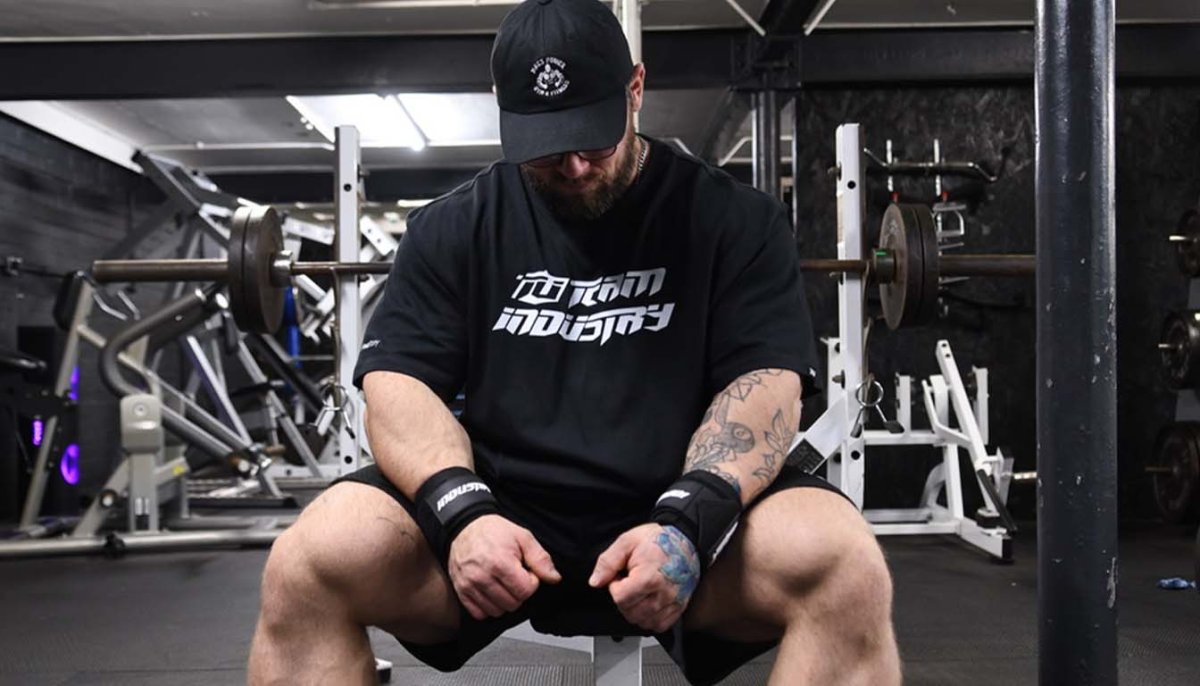
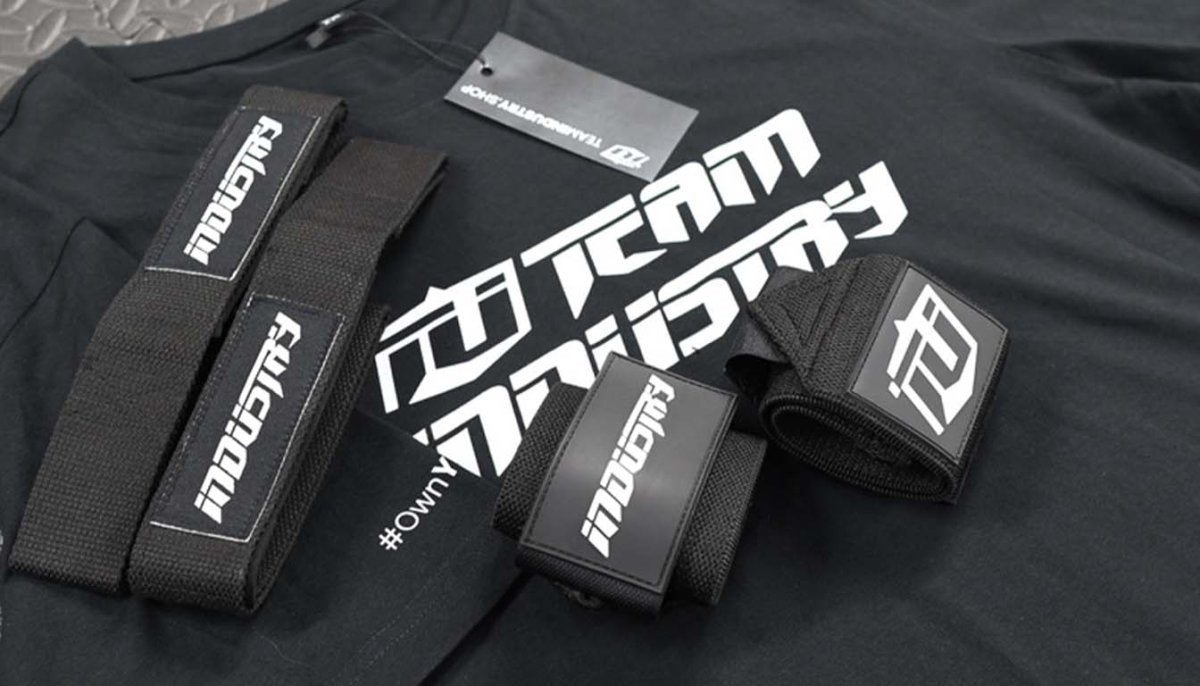
- Resolve grip issues by using Liquid Chalk or Leather Weight Lifting Straps to ensure your hands hold firm.
- Understand how to create internal pressure with the Valsalva maneuver and use a Team Industry Lifting Belt for better spinal feedback.
- Align your technical execution with the 2026 IPF rule changes to ensure every heavy pull is safe, legal, and effective.
Setup Sabotage: Why Your Deadlift Fails Before the Bar Leaves the Floor
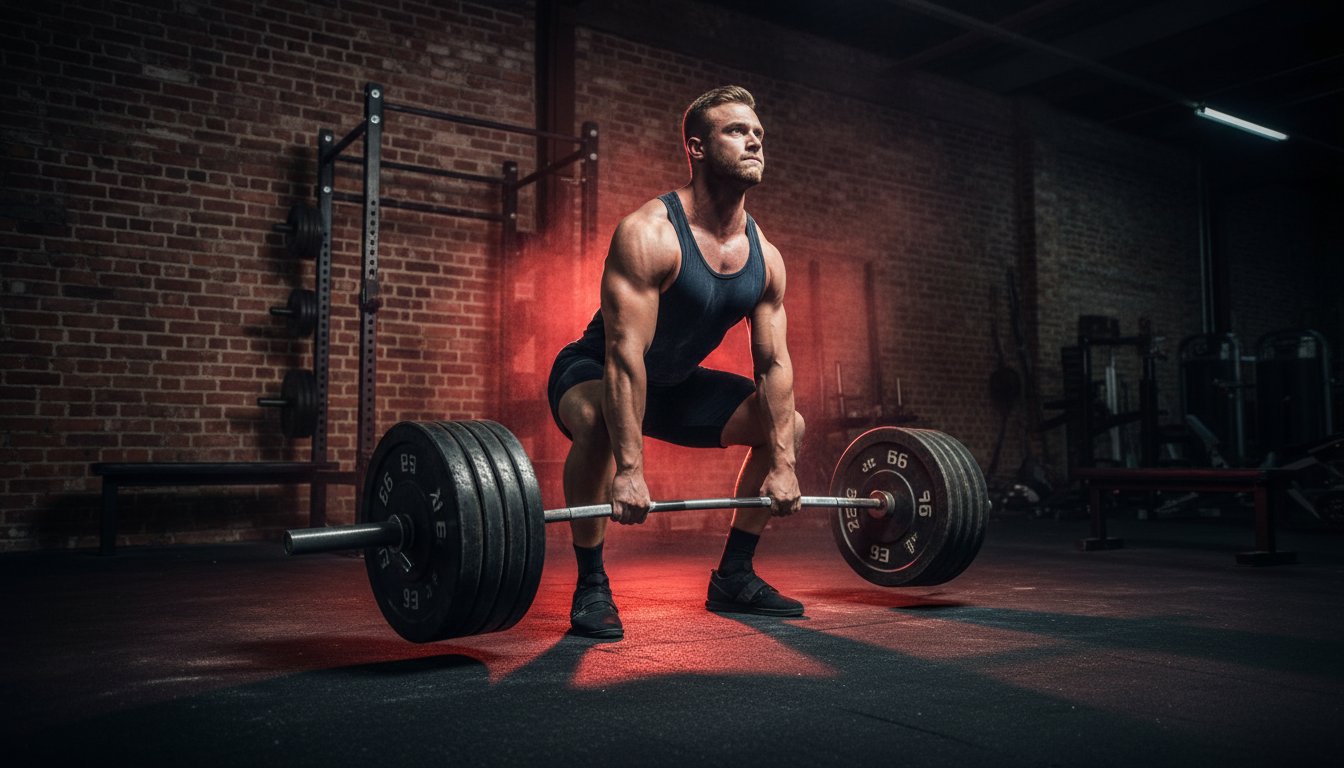
A successful pull starts long before the bar breaks contact with the floor. Many lifters struggle with common deadlift mistakes and how to fix them, but the most critical errors usually happen during the setup phase. If your shins are too far from the bar, you create an immediate lever disadvantage. This "Bar Distance" trap forces your lower back to work significantly harder because the load is out of alignment with your center of gravity. Positioning your scapulae slightly over the bar ensures your lats are engaged and your torso remains rigid. Mastering proper deadlift technique requires a disciplined approach to these technical details before you ever apply force.
To better understand the mechanics of a professional setup, watch this helpful coaching video:
The Mid-Foot Rule
Efficiency in the deadlift is dictated by physics. You must position the bar exactly over the middle of your foot rather than over your toes. A vertical bar path is the shortest, most efficient distance for the load to travel. If the bar starts too far forward, it'll inevitably drift back toward your shins mid-lift. This causes instability and wastes energy that should be used for the pull. Ensure your shoes are fastened securely, as required by 2026 IPF standards, to maintain a stable base of support during this alignment.
Finding Your Optimal Hip Height
Don't make the mistake of trying to "squat" the weight up by dropping your hips too low. This movement pushes your shins forward, which bumps the bar away from your mid-foot and ruins your leverage. Instead, keep your hips high enough to feel immediate tension in your hamstrings. Think of these muscles as tension springs that are ready to release power. If you struggle to maintain a rigid torso while finding this height, a Team Industry Lifting Belt acts as a vital biofeedback tool to help you brace effectively against the load.
The Pull: Correcting Hips, Back Rounding, and Bar Slack
Once you've mastered the setup, the transition from the floor to your knees is where most technical leaks occur. Jerking the bar off the ground is a recipe for immediate loss of tension and potential injury. Addressing common deadlift mistakes and how to fix them requires a shift in mindset from "pulling" the bar to "wedging" yourself into it. Maintaining proper deadlift form during this phase ensures your lats stay active, which keeps the bar tight against your body and prevents it from drifting forward into a disadvantageous position.
Mastering the 'Slack Pull'
Professional lifters don't start their pull from a dead stop. They pull the "slack" out of the bar first. Listen for the distinct "click" of the bar hitting the top of the plate holes before you initiate your full drive. This action pre-tensions your hamstrings and lats, turning your entire body into a rigid, unified lever. By the time the weight actually leaves the floor, you've already eliminated the mechanical play in the bar, resulting in a smoother and more explosive ascent.
Fixing the Early Hip Rise
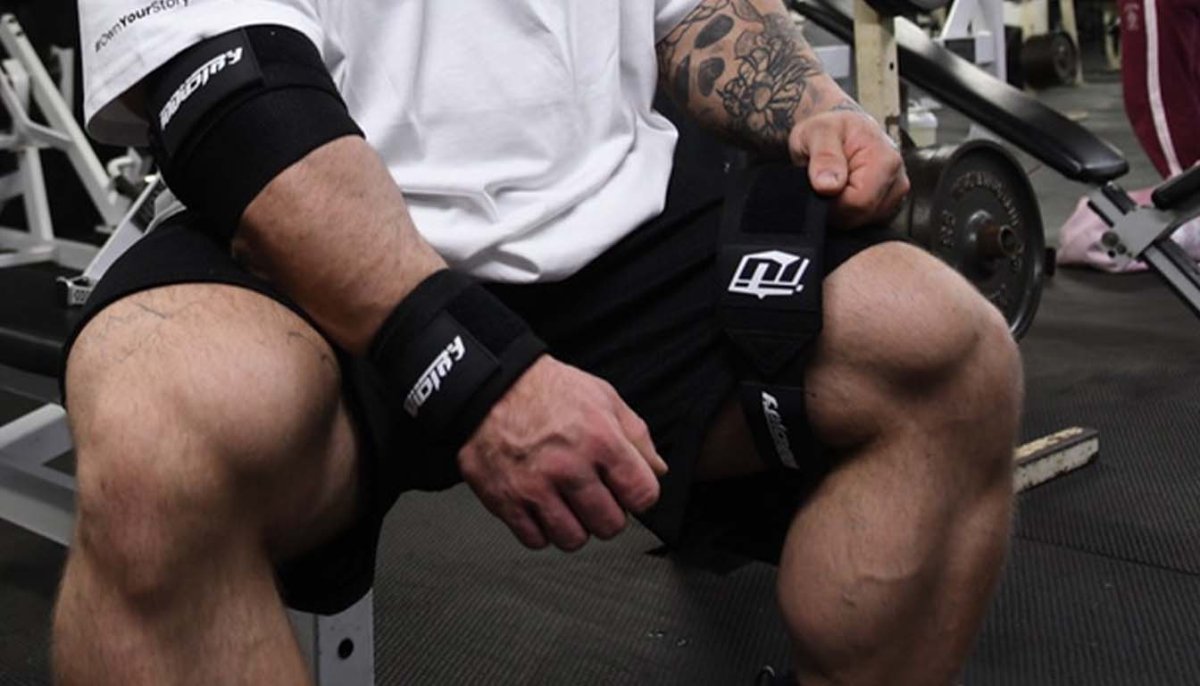
If your hips shoot up before the bar moves, you've likely lost your leg drive and shifted the entire load onto your lower back. This "stripper pull" is often caused by a lack of initial tension. To correct this, cue yourself to "leg press" the floor away rather than pulling with your arms. Your chest and hips must rise in unison. If you struggle with stability during this high-pressure drive, wearing Heavy Duty Knee Sleeves can provide the joint support and proprioceptive feedback needed to maintain a strong, consistent leg drive.
Rounding the lower back is a dangerous error that must be avoided, though some slight upper back rounding is acceptable for experienced lifters looking to optimize their leverage. The key is to keep the bar close. Use your lats to "paint" your shins with the bar throughout the lift. If the bar leaves your legs even by an inch, the lever arm increases, making a heavy load feel exponentially more difficult to lock out. Focus on staying tight and keeping the bar path vertical to maximize your output.

Grip Failure and Upper Back Tension: Solving the 'Technical Leak'
It's a common scenario for many lifters: your legs are strong enough to pull 200kg, but your hands give out at 140kg. This technical leak isn't just a strength issue; it's a friction and focus problem that can stall your progress for months. Addressing common deadlift mistakes and how to fix them often involves re-evaluating how you interface with the barbell. While some view gear as a "cheat," professional athletes treat tools like Liquid Chalk as essential equipment to eliminate sweat-induced slipping and maintain total control over the load.
How to Use Grip Aids Effectively
Apply a small amount of liquid chalk to your palms and allow it to dry completely. This creates a professional-grade, high-friction surface that's ideal for competition-style pulls where you want to maintain a raw feel. However, for high-volume sets or when your grip becomes the bottleneck for posterior chain development, transitioning to Figure 8 Lifting Straps is the pragmatic choice. These straps allow you to focus entirely on the hinge movement without worrying about the bar slipping. If you're unsure which tool fits your current training block, consult our guide on mastering your pull with lifting straps.
Locking in the Upper Back
Upper back tension is the glue that holds your deadlift together. Depress your scapulae by imagining you're tucking your lats into your back pockets. This "bending the bar" cue around your shins creates a rigid torso and protects your spine from shearing forces. Constant upper back tension ensures the barbell stays tight against your body and prevents it from drifting forward away from your center of mass. When the bar path remains vertical and close, your leverage improves, making the lockout significantly more manageable.
Don't let a weak grip dictate your strength gains. Secure your next heavy set by picking up a pair of our Leather Weight Lifting Straps to ensure your hands never quit before your muscles do.
Bracing and Core Stability: Mastering Internal Pressure with Gear
Bracing is the foundational skill that determines whether your spine stays neutral or rounds under a heavy load. Many lifters treat a belt as a simple safety strap, but it's actually a precision biofeedback tool designed to increase intra-abdominal pressure. Understanding common deadlift mistakes and how to fix them requires a mastery of the Valsalva Maneuver. This technique involves creating a rigid "column" of air within your torso to support the spine from the inside. Without a proper brace, even the most perfect setup will crumble as the weight increases.
The Mechanics of the Brace
Effective bracing starts with your breath. Avoid inhaling into your chest, which causes your shoulders to rise and creates instability. Instead, draw air deep into your abdomen, aiming for 360-degree expansion around your entire midsection. Once you've filled your core, contract your abdominal muscles as if you're about to take a punch. Pushing out against a Weight Lifting Belt maximizes this internal pressure, providing the structural integrity needed for a safe, explosive pull.
Choosing Professional Support
The thickness of your gear should match your lifting intensity and body type. A 10mm Lever Belt offers a calculated balance of rigidity and comfort, making it a versatile choice for most training blocks. For those moving elite-level loads, a 13mm Lever Belt provides maximum support to ensure the torso remains an unyielding lever. Position the belt where it feels most secure against your abdominal wall. If it's too high or too low, you'll lose the ability to brace effectively, which is a common technical leak in heavy sessions.
The final stage of the lift is the lockout. While the 2026 IPF rules now mandate a definitive knee lockout, you must avoid the mistake of hyperextending your lower back at the top. This "soft knee" approach involves standing tall and squeezing the glutes without leaning back. By combining these bracing strategies with high-quality Team Industry strength gear, you ensure every lift is performed with professional-grade stability and safety. Focus on these technical adjustments to turn your deadlift into a reliable, pain-free movement.
Elevate Your Performance on the Platform
Mastering the deadlift is a continuous process of refining your mechanics and eliminating technical leaks. By focusing on a vertical bar path over the mid-foot and pulling the slack out of the bar, you've already addressed the most critical common deadlift mistakes and how to fix them. These adjustments ensure your strength is applied efficiently, protecting your spine while maximizing your output. Technical proficiency is only half the battle. High-standard operations on the platform require equipment that matches your dedication.
Team Industry UK is proud to be trusted by UK Strongman and Powerlifting athletes who rely on our professional-grade 13mm Lever Belts for maximum support. When your grip becomes the bottleneck, our heavy-duty Figure 8 straps provide elite-level security for your heaviest sets. Take these tips to your next session and stay committed to operational excellence in the gym. Your next personal record is built on the foundation of technical discipline and reliable support.
Upgrade your pull with professional-grade Team Industry UK Strength Gear
Keep pulling heavy and stay safe.
Frequently Asked Questions
Is it okay to round my back during a deadlift?
Rounding your lower back is a dangerous technical error that increases the risk of spinal injury, though slight upper back rounding is common among elite lifters. Keeping your lumbar spine neutral ensures the load is distributed across your muscles rather than your discs. If you struggle to maintain a flat back, reduce the weight and focus on your bracing. This is one of the most critical common deadlift mistakes and how to fix them for long-term health.
Should I use a belt for every set or just heavy ones?
You should use a belt for your heavy working sets to provide the necessary biofeedback for a strong brace. While you don't need a belt for light warm-up sets, wearing a Team Industry Lifting Belt during your top sets helps you maintain intra-abdominal pressure. This support allows you to pull heavier loads with greater stability and confidence without masking poor technique.
Are lifting straps considered cheating in training?
Lifting straps are not cheating; they are a functional tool used to prevent grip strength from limiting your posterior chain development. If your legs can handle more weight than your hands can hold, you're missing out on valuable stimulus. Using Figure 8 Lifting Straps allows you to push your hamstrings and glutes to their limit during high-volume training sessions.
How do I stop the bar from banging against my shins and causing bruising?
Prevent shin bruising by positioning the bar over your mid-foot, about an inch away from your shins, during the setup. If the bar starts in direct contact with your skin, it'll scrape upward as you pull. You can also protect your legs by wearing Industry Performance Leggings or deadlift-specific socks. This creates a smooth surface for the bar to glide against during the ascent.
What is the difference between a conventional and sumo deadlift setup?
The difference between conventional and sumo deadlifts is centered on your stance width and the resulting demands on your musculature. Conventional pulls use a narrow stance that emphasizes the lower back and hamstrings. Sumo uses a wide stance with hands inside the knees to target the quads and adductors. Understanding these setup variations is key to identifying common deadlift mistakes and how to fix them based on your specific body proportions.
Share:
Avoiding Lower Back Pain During Squats: A Lifter’s Guide to Pain-Free Strength
How to Measure for a Lifting Belt: The Ultimate UK Sizing Guide