

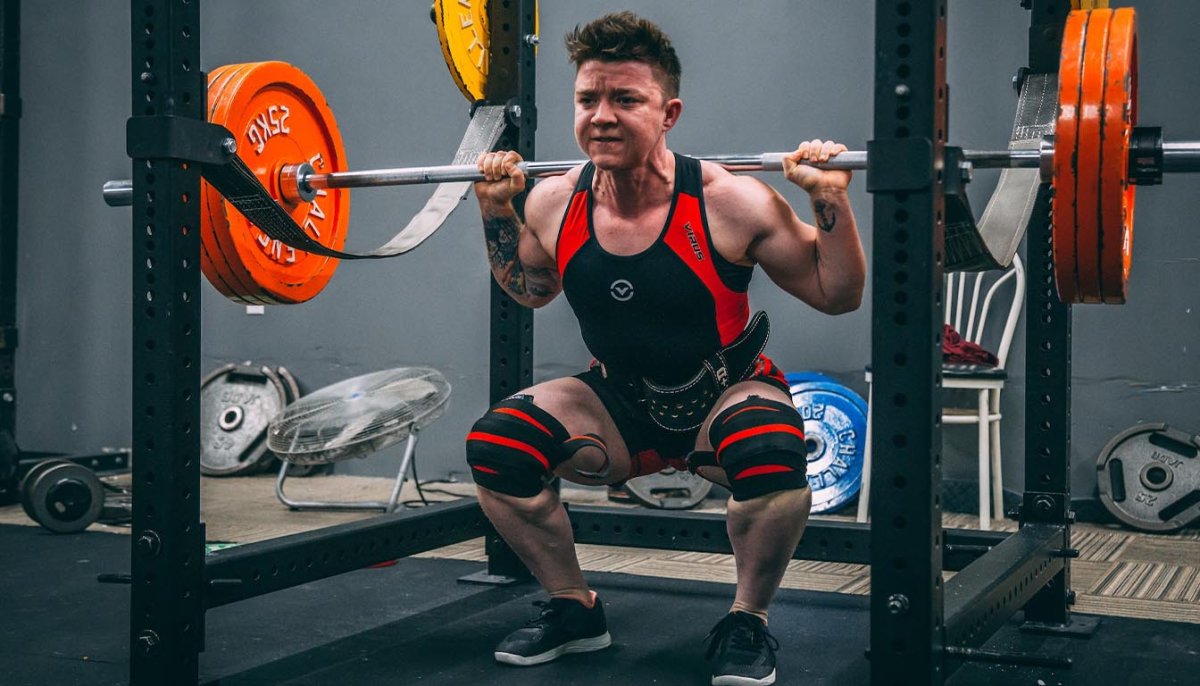
The barbell squat is far more than a simple leg exercise; it is a high-stakes, full-body bracing event where technical precision is the only thing standing between a new personal best and a potential injury. You likely started squatting to build raw strength, but hitting a plateau or feeling that familiar ache in your lower back can quickly turn a productive session into a frustrating one. It’s a common struggle to keep your knees from caving or your chest from collapsing when the weight gets heavy. Refining your barbell squat technique is the most effective way to address these mechanical failures at the source.
We agree that nothing beats the feeling of a heavy set performed with perfect control, yet many lifters unknowingly sacrifice their long-term health for short-term gains. This guide promises to provide the technical nuances you need to stabilize your form and build power safely. We will explore everything from foot placement to the "shelf" on your upper back. You’ll also learn how integrating professional-grade gear, such as a Team Industry Lifting Belt for core stability or Heavy Duty Knee Sleeves for joint support, can provide the extra security needed to break through your current limits and protect your longevity under the bar.
Key Takeaways
- Learn how to establish a secure "shelf" for the bar using your upper traps to ensure total stability before you even unrack the weight.
- Refine your barbell squat technique by mastering a controlled descent that prioritizes sitting back into the hips while keeping your knees aligned with your toes.
- Identify and fix common power leaks like knee cave or lower back rounding by improving your bracing and foot rooting mechanics.
- Understand how professional tools like a Team Industry Lifting Belt or Heavy Duty Knee Sleeves can reinforce your technical foundation.
The Foundation: Master Your Barbell Squat Setup
A successful lift is determined before you even unrack the weight. Your setup establishes the structural integrity required to handle heavy loads, and it's the most critical phase of your barbell squat technique. Without a rigid upper body and a stable base, the weight will shift, leading to energy leaks and potential injury. The "shelf" is a stable platform created by retracting the shoulder blades and tensing the upper traps or rear deltoids to secure the barbell against the body. Beyond the upper body, you must focus on "rooting" your feet into the floor by grabbing the ground with your toes and driving your heels down to create three points of contact. The Squat (exercise) serves as the cornerstone of strength training, but it only works if your foundation is unbreakable.
To better understand the nuances of a professional setup, watch this helpful video:
High Bar vs. Low Bar Placement
Selecting the right bar position is a vital part of personalizing your barbell squat technique to your unique anatomy. High bar squats place the bar atop the traps, requiring an upright torso that prioritizes quad development. This style is often preferred by Olympic weightlifters and those with shorter femurs. Conversely, low bar squats involve resting the bar across the rear deltoids. This shorter lever arm allows you to lean forward slightly, engaging the posterior chain and typically allowing for heavier loads. Your choice should depend on your specific limb lengths and whether your goal is maximum raw power or targeted muscle growth.
Creating Tension and Bracing
Bracing is the difference between a hollow tube and a solid pillar. You must master the Valsalva maneuver by breathing deeply into your diaphragm rather than your chest to create internal pressure. Using a Team Industry Lifting Belt provides a physical wall for your abdominals to push against, significantly increasing intra-abdominal pressure and protecting the spine. Don't just let the bar sit on you; actively pull the bar into your back to engage your lats. This creates a single, rigid unit from your shoulders to your hips, ensuring that every ounce of force you generate goes directly into moving the weight.
Step-by-Step Execution: The Perfect Rep
Execution is the live application of the tension you built during the setup. Once you unrack, take two or three deliberate steps back. Don't rush. Every movement must be calculated. A proper barbell squat technique requires you to maintain that rigid "pillar" from your hips to your shoulders throughout the entire range of motion. Pushing through the mid-foot ensures you stay balanced while the weight moves vertically. A detailed Biomechanical Analysis of the Squat reveals how maintaining this alignment is essential for force transfer and spinal safety.
The Eccentric: Controlling the Descent
Begin the descent by breaking at the hips and knees simultaneously. This isn't just a knee bend; it's a controlled "sitting back" into your hips. Aim to have your knees track directly over your toes. You must reach a depth where the hip crease passes just below the top of the knee for a full range of motion. Maintaining a neutral spine is non-negotiable. Rounding or arching causes energy leaks and risks injury. Many athletes find that wearing Heavy Duty Knee Sleeves helps maintain joint warmth and provides critical proprioceptive feedback during this phase.
The Concentric: Driving from the Hole
The "hole" is the bottom of the squat where the transition occurs. This is where most lifts fail. Avoid the "stripper squat" where the hips shoot up before the chest. Instead, drive your traps back into the bar. This keeps your torso angle consistent and ensures the load stays over your mid-foot. Improving your barbell squat technique depends on keeping your foot pressure even. Don't let your heels lift or your toes curl. If you feel your stability wavering at the bottom, consider adding joint support to your kit to help you feel more secure under heavy loads.
Troubleshooting Form: Fixing Common Squat Mistakes
Even with a disciplined setup, mechanical failures often emerge as the weight increases. Identifying the root cause of these errors is essential for refining your barbell squat technique and preventing long-term joint wear. Most issues aren't just "bad form"; they're symptoms of poor mobility or a lack of internal bracing. A detailed biomechanical analysis of squat performance shows that these functional deficits often lead to predictable patterns of failure:
- Butt Wink: Posterior pelvic tilt at the bottom of the rep.
- Knee Valgus: Inward collapse of the knees during the drive phase.
- Forward Lean: Shifting the bar path toward the toes.
Preventing Knee Cave and Valgus Stress
Knee cave occurs when your knees collapse inward during the ascent. This often stems from weak hip abductors or a failure to "root" the feet. Use the cue to "screw your feet into the floor." This external rotation engages the glute medius and keeps the knees tracking safely over the toes. While it seems unrelated, using wrist wraps can help. They allow for a more aggressive grip on the bar, which tightens the lats and upper back. This creates a more stable torso that prevents the weight from shifting forward and putting unnecessary stress on the knees.
Correcting Lower Back Rounding
Lower back rounding happens when the pelvis tilts at the bottom of the squat. You must determine if this is a genuine ankle mobility issue or simply a bracing failure. If your core isn't tight, your pelvis will shift to find stability. Adjusting your stance width can also provide the necessary room for your hip anatomy. For those struggling to maintain tension, a 13mm lever belt acts as a vital physical cue. It gives your abdominals a rigid surface to push against, ensuring your spine stays neutral under heavy loads. This stability is the key to a safer barbell squat technique.
Don't let technical errors stall your progress. Explore our full range of professional strength gear to support your training and lift with confidence.
Optimising Performance with Professional Strength Gear
Professional-grade gear serves as a strategic tool to reinforce your technical mechanics. It's not about compensating for poor form; it's about providing the stability needed to express your full strength under extreme loads. Refining your barbell squat technique involves more than just physical movement. It requires a synergy between your body and your equipment. Using Heavy Duty Knee Sleeves provides localized compression that stores elastic energy during the descent. This creates a subtle mechanical "bounce" that assists the transition out of the hole while keeping the joint warm and secure.
The Role of Lifting Belts in Intra-Abdominal Pressure
A professional lever belt is the preferred choice for serious lifters because it offers consistent, repeatable tension. Unlike prong belts, a lever mechanism ensures the exact same level of support for every set. Position the belt where it provides the most feedback against your abdominals, typically just above the iliac crest. This feedback loop is essential for maintaining the bracing patterns required for a heavy squat. You can see how these bracing principles apply across all compound movements in The Ultimate Bench Press Guide.
Knee Sleeves and Wraps for Joint Stability
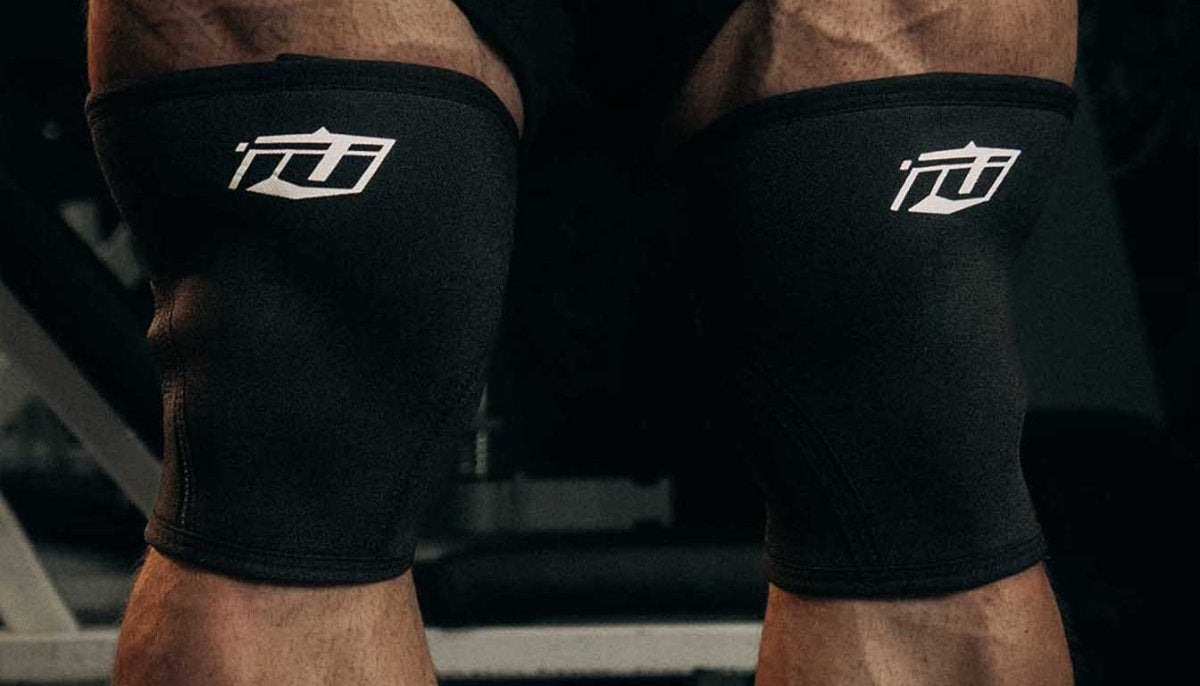
Choosing between 7mm sleeves and Weight Lifting Knee Wraps depends on your specific training goals. Standard Heavy Duty Knee Sleeves offer reliable compression that improves proprioception, helping you sense your body's position in space. Wraps are typically reserved for maximal attempts where mechanical assistance and extreme rigidity are the priority. Both tools help maintain joint warmth, which is vital for long-term orthopedic health. To ensure your barbell squat technique remains sharp as the weight increases, check out the full range of Team Industry Accessories to complete your training kit.
Master the Movement and Build Lasting Power
Refining your barbell squat technique is a continuous process of adjusting mechanics and reinforcing stability. By prioritizing a rigid upper-body shelf and maintaining consistent intra-abdominal pressure, you transform the squat from a simple leg movement into a coordinated full-body feat of strength. Success under the bar depends on your ability to identify mechanical failures early and address them with disciplined practice and the right support. Consistency in your setup and execution is what separates a frustrating plateau from a new personal best.
As a UK-based strength specialist, Team Industry provides equipment designed specifically for the rigorous standards of powerlifting and strongman. Our high-quality 10mm and 13mm leather belts offer the structural reinforcement needed to push your limits safely. Don't let technical plateaus or minor aches hold back your progress. Upgrade your squat with professional Team Industry Strength Gear and experience the difference that professional-grade equipment makes. Stay focused, keep your bracing tight, and continue to build raw power with every rep.
Frequently Asked Questions
How deep should I squat for maximum muscle growth?
You should squat until your hip crease is at least parallel with the top of your knee to maximize muscle recruitment. Achieving full depth ensures the quads and glutes are under tension through their entire range of motion. Only squat as deep as your mobility allows while maintaining a neutral spine. If your lower back rounds at the bottom, focus on improving your ankle and hip flexibility before going deeper.
Should I use a weightlifting belt for every set of squats?
You don't need a belt for every set; reserve it for your heavy working sets or weights above 80% of your maximum. Using a Team Industry Lifting Belt is vital for creating the intra-abdominal pressure needed for top-end strength. However, performing your warm-up sets without a belt helps you develop natural core stability and bracing mechanics. This approach ensures your technical foundation remains strong without over-reliance on gear.
Why do my knees hurt when I perform barbell squats?
Knee pain is often a symptom of poor tracking or insufficient joint warmth during your session. Ensure your knees track directly over your toes and avoid letting them cave inward under load. Wearing Heavy Duty Knee Sleeves provides the compression and heat necessary to support the joint and improve proprioception. Correcting your barbell squat technique to keep the weight centered over your mid-foot also reduces unnecessary shearing forces.
What is the difference between high bar and low bar squats?
The difference lies in the bar's position on your back and the resulting torso angle during the movement. High bar squats place the bar on the traps, requiring an upright posture that targets the quadriceps. Low bar squats position the bar across the rear deltoids, which allows for a slight forward lean and greater posterior chain engagement. Most lifters find they can move heavier loads using the low bar variation due to the shorter lever arm.
Can I squat every day to build strength faster?
You can squat daily if you follow a specialized program, but most lifters see better results with two or three sessions per week. Squatting every day requires meticulous management of volume and intensity to prevent central nervous system fatigue. High frequency also demands a flawless barbell squat technique to avoid repetitive strain injuries. For long-term power development, prioritizing recovery is just as important as the work you put in under the bar.
Share:
How to Use Figure 8 Lifting Straps: The Professional Guide for Max Pulls in 2026
Leg Day Gym Leggings: Performance Guide for Athletes