

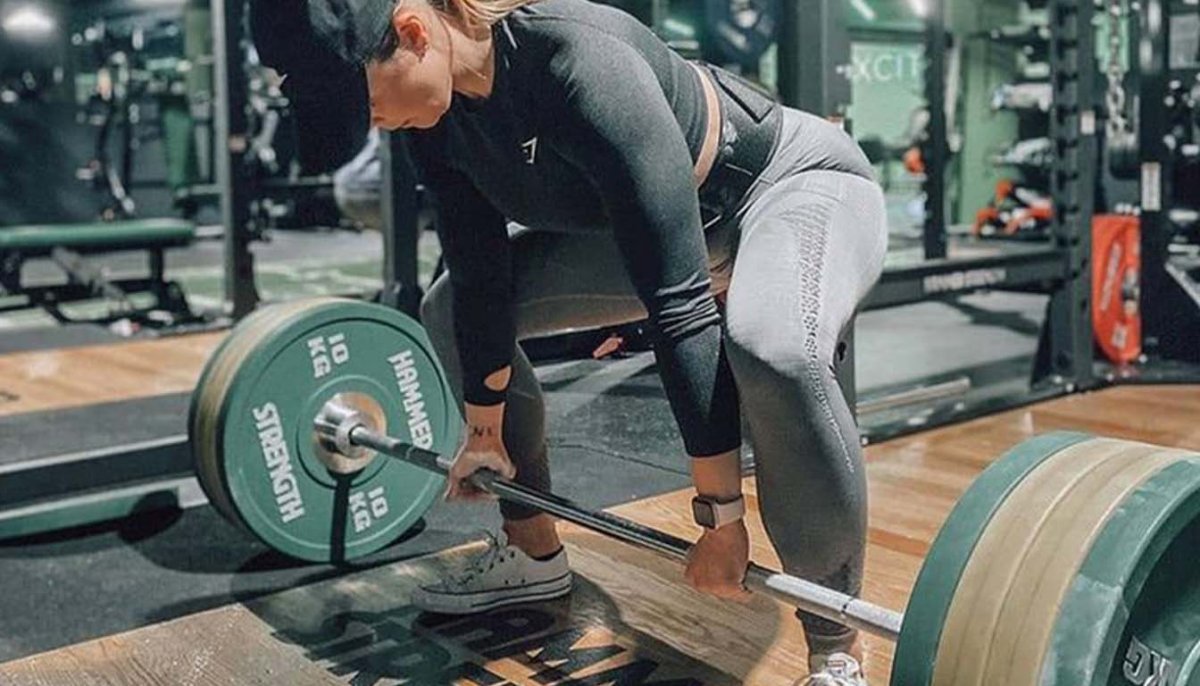
What if the biggest barrier to your next personal record isn't your raw muscle mass, but a subtle flaw in your setup? You've likely felt the frustration of a bar that refuses to budge or the nagging discomfort in your lower back after a heavy pulling session. It's common for grip strength to fail before your posterior chain is finished, leaving potential kilograms on the platform. We're here to change that by refining your deadlift technique through elite-level mechanics and calculated gear strategies. You'll learn how to create a repeatable, high-tension setup that builds confidence under maximal loads. This guide provides a professional breakdown of both sumo and conventional cues, alongside practical advice on using professional lifting belts to support your spine. We'll cover everything from slack-pulling to bracing, ensuring you have the technical foundation to pull heavier weights safely and efficiently while maintaining total control of the barbell path.
Key Takeaways
- Establish a consistent start position by aligning the barbell over your mid-foot to ensure a vertical bar path and a rigid torso.
- Improve your deadlift technique by shifting your focus; instead of pulling the bar, think about pushing the floor away to engage your legs early.
- Utilise a Team Industry Lifting Belt to increase intra-abdominal pressure and maintain spinal stability under heavy loads.
- Manage your training frequency to balance high-intensity stimulus with central nervous system recovery for long-term strength gains.
The Foundation: Mastering the Deadlift Setup and Bar Path
Effective deadlift technique is the efficient transfer of force from the floor to the hips through a rigid, neutral torso. It isn't just about moving weight; it's about managing leverage. The non-negotiable starting point for every repetition is the mid-foot balance point. If the barbell starts too far forward, you lose leverage immediately. If it's too close, you'll struggle to clear your shins. Aligning the bar over your mid-foot ensures a vertical bar path and optimal force production. For a foundational overview of the lift, you can refer to this comprehensive guide to the deadlift.
To better understand these mechanics, watch this helpful video:
Stance and Foot Positioning
Choosing between a conventional or sumo stance depends on your hip anatomy and limb lengths. To find your strongest conventional width, perform a vertical jump; where your feet naturally land is typically your most powerful position. For sumo, wider stances require greater hip mobility to keep the knees tracked over the toes. Regardless of stance, "spreading the floor" by driving your feet outward engages the glutes and creates a stable base for the pull.
The 'Wedge' and Pre-Pull Tension
Refining your deadlift technique requires mastering the 'wedge', which involves using the bar as a counterweight to pull your hips into position. This creates a tight, high-tension system before the weight leaves the floor. Pulling the slack is the removal of all space between the bar and the plates before the lift begins. Engage your latissimus dorsi by thinking about "putting your shoulder blades in your back pockets" to protect your spine and keep the bar close. Maintaining this tension is easier when you use a Team Industry Lifting Belt to create the necessary intra-abdominal pressure for a heavy pull.
Execution and Troubleshooting: The Mechanics of the Pull
Once you've established your setup, the execution phase begins with a controlled floor break. A common error is trying to yank the bar up using only the back. Instead, focus on pushing the floor away with your legs to engage the quadriceps early in the movement. This leg drive keeps the bar moving in a straight line while maintaining the tension you built during the setup. Spinal neutrality is maintained by a 360-degree 'brace' of the core throughout the entire lift. As the bar passes your knees, transition into a powerful hip drive to complete the movement.
Bracing and Intra-Abdominal Pressure
Effective bracing relies on the Valsalva manoeuvre. Take a deep breath into your belly and expand your midsection to create a rigid internal 'airbag' before you pull. A professional Team Industry Lifting Belt provides a tactile cue to push against, resulting in a harder, more reliable brace for near-maximal attempts. You must maintain this tension during the eccentric phase as you lower the bar to avoid structural breakdown or loss of position. Consistent bracing protects the spine and ensures force is transferred efficiently from your legs to the barbell.
Diagnosing Common Technical Faults
Refining your deadlift technique requires a systematic approach to troubleshooting. If your hips rise too fast, it usually indicates weak quads or a lack of initial tension. To fix a 'cat back' or rounding in the spine, re-engage your lats to pull the bar into your shins. If the bar drifts forward, focus on keeping the barbell in constant contact with your legs. Mastering these nuances is essential for a safe and powerful deadlift technique. Finish the lift by driving your hips forward to meet the bar, using your glutes to lock out rather than hyperextending your lumbar spine. This glute-focused finish ensures a stable, legal lockout without unnecessary strain on your lower back.
Enhancing Performance with Professional Lifting Equipment
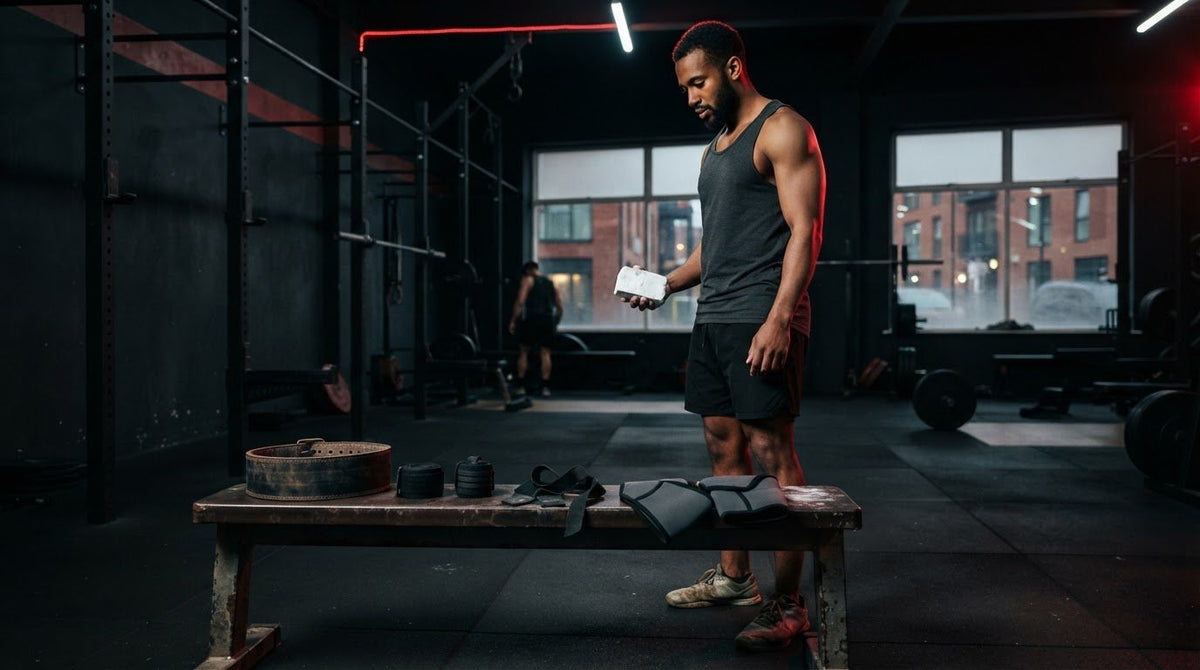
Professional strength equipment isn't a crutch; it's a vital tool for technical consistency. It allows you to focus on your deadlift technique without your grip or core stability becoming a bottleneck during heavy sets. While some view gear as optional, elite lifters use it to standardise their setup and increase total training volume. A Team Industry Lifting Belt provides the necessary tactile feedback for a hard, 360-degree brace during near-maximal attempts. To keep the bar path consistent, apply Liquid Chalk to ensure a secure, no-slip grip that prevents the barbell from rotating in your hands. For a deeper dive into grip options, read our guide on Mastering Your Pull: The Ultimate Guide to Lifting Straps.
Lifting Straps: Figure 8 vs. Classic Lasso
Figure 8 Lifting Straps are the gold standard for heavy deadlifts and strongman training. They lock you securely to the bar, allowing you to bypass forearm fatigue and focus entirely on posterior chain engagement and hip drive. This is particularly useful during high-volume sessions where your grip would otherwise fail before your muscles do. If you prefer a more traditional feel for various rowing or pulling movements, the Industry Classic Lifting Straps offer versatile grip support without the double-loop design.
Lever Belts: 10mm vs. 13mm Support
Lever belts provide a technical advantage by offering quick, consistent tightness between sets, ensuring your setup is identical every time. Choosing the right thickness is a matter of your specific training goals and body type. A 10mm belt offers excellent versatility and a shorter break-in period, making it suitable for most athletes. For powerlifters seeking maximum rigidity and support during maximal loads, a 13mm belt provides an unyielding wall to brace against. Both options ensure your deadlift technique remains stable under intense pressure. Upgrade your kit today by exploring our full range of professional strength gear.
Long-Term Progression and Professional Consistency
Mastering your deadlift technique is a long-term commitment that requires a calculated approach to programming. Because heavy pulls place a significant demand on the central nervous system, you must establish a sustainable frequency. Most athletes find that one or two high-intensity sessions per week provide enough stimulus for growth without leading to systemic fatigue. Consistency isn't just about the numbers on the bar; it's about the psychological preparation you bring to the platform every time you train. Staying disciplined with your recovery is just as important as the effort you put into the lift itself.
Apparel for Unhindered Movement
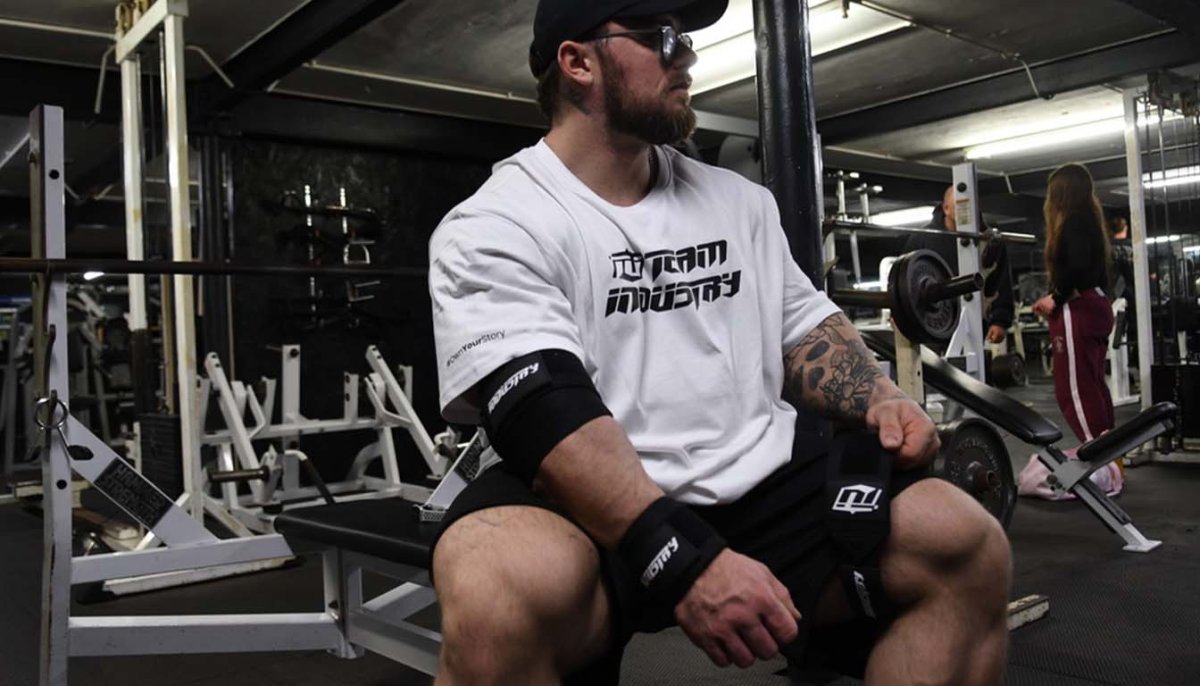
Wearing a professional 'uniform' sets the right mindset for a heavy session and removes distractions. The Industry Oversized Tee is a preferred choice because it allows for full shoulder mobility while ensuring the fabric doesn't snag on the bar during the pull. For those who pull with a close bar path, Industry Performance Leggings offer essential protection against bar abrasions on the shins. This allows you to keep the barbell in tight contact with your body without hesitation, which is vital for maintaining the efficient mechanics we've discussed.
Warm-up and Mobility for the Posterior Chain
Never approach a maximal load without first priming the primary movers. Use specific drills like glute bridges and bird-dogs to activate your posterior chain before you start your ramp-up sets. This professional approach integrates the deadlift into a holistic strength program where every movement serves a purpose. To ensure your upper body development keeps pace with your lower body pulls, you should also follow The Ultimate Bench Press Guide. Surrounding yourself with a community that understands the grit of strength sports will keep you accountable as you refine your deadlift technique. Focus on the marginal gains that lead to professional-level strength over time.
Elevate Your Pull with Professional Precision
Mastering your deadlift technique requires a disciplined blend of mechanical precision and reliable equipment. We've established that a successful lift begins with a perfect mid-foot setup and is maintained through 360-degree core tension. By integrating professional gear, you remove the technical bottlenecks that often limit your progress on the platform. As a UK-based strength specialist, Team Industry provides the same high-standard tools used by competitive powerlifters and strongmen across the country. Whether you require the uncompromising support of our 13mm Lever Belts or the grip security of our Figure 8 straps, our equipment is built for operational excellence. It's time to apply these cues and step back onto the platform with renewed confidence in your mechanics. Consistency in your setup leads to reliability in your results. Shop the full Team Industry Strength Gear collection for professional-grade support and start pulling with the power your training deserves.
Frequently Asked Questions
Is the deadlift bad for my lower back?
The deadlift isn't inherently bad for your back; injuries typically result from poor execution or excessive volume. When you maintain a neutral spine and engage your lats, the movement actually strengthens the muscles supporting your lumbar region. It's a functional pattern that builds resilience. However, you must respect your limits and avoid rounding your spine under heavy loads to ensure your deadlift technique remains safe and productive.
Should I use a lifting belt for every set?
You don't need to wear a belt for every set. It's most effective during your heaviest working sets where intra-abdominal pressure is critical for stability. For warm-ups and lighter technical work, training without a belt helps develop natural core bracing. Once you reach roughly 70-80% of your maximum, a Team Industry Lifting Belt provides the necessary feedback to support a maximal effort safely.
What is the difference between Sumo and Conventional deadlifts?
The primary difference lies in foot placement and the resulting demands on your anatomy. Conventional deadlifts use a narrow stance and place more emphasis on the spinal erectors and hamstrings. Sumo deadlifts involve a wide stance with feet turned out, which reduces the range of motion and shifts more load to the quads and adductors. Neither is superior; the best choice depends on your specific hip structure and individual limb lengths.
When should I start using lifting straps?
You should start using straps when your grip strength fails before your target muscles are fully taxed. Using Figure 8 Lifting Straps allows you to complete high-volume accessory work or heavy top sets without the bar slipping. This ensures your deadlift technique stays consistent throughout the session. Don't let a weak grip limit your total workload; use straps strategically to keep your posterior chain progressing.
How often should I train the deadlift for maximum strength?
For most athletes, training the deadlift once or twice per week is ideal for maximum strength. Because the movement is taxing on the central nervous system, frequency must be balanced with recovery. You might perform one heavy session focused on low reps and a second lighter session dedicated to technical refinement or variations. This approach prevents burnout while allowing you to accumulate the necessary volume for long-term strength gains.
Share:
Tactical Gym Backpacks: Guide for Strength Athletes (2026)
Heavy Duty Knee Sleeves: The Lifter’s Guide to Maximum Joint Support