

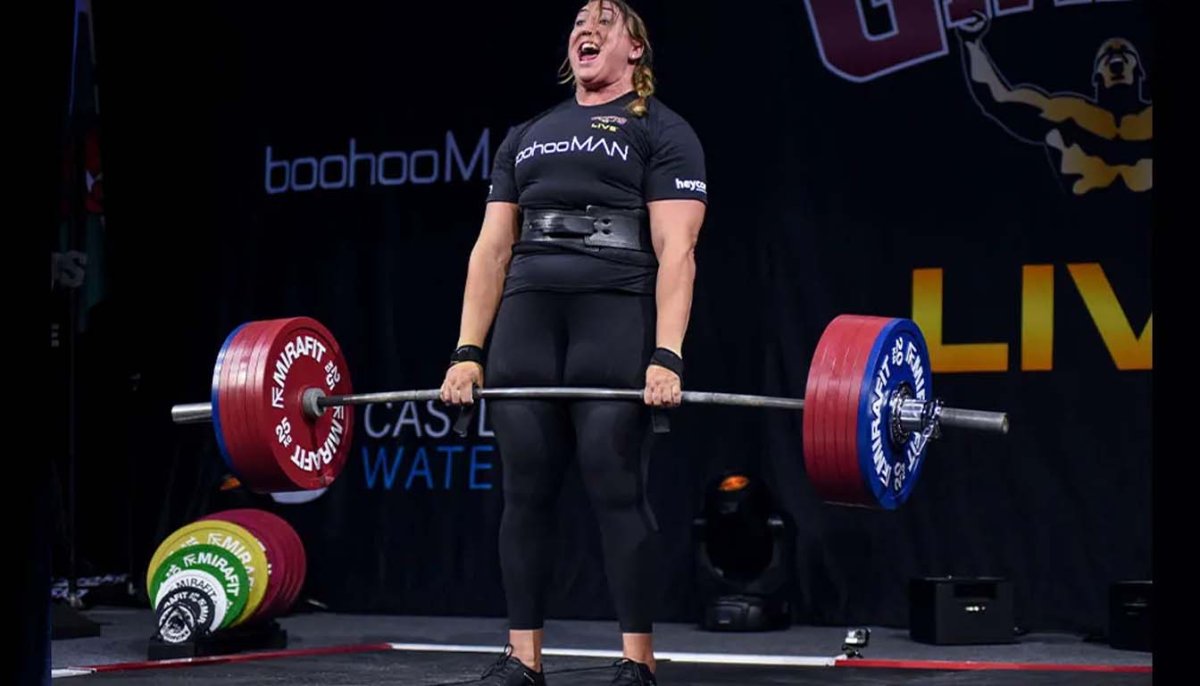
Stop trying to pull the barbell off the floor; the heaviest deadlifts happen when you wedge your body against the bar rather than yanking upward like a crane. If you have ever finished a heavy session with nagging lower back soreness, or watched your grip slip before your legs actually fatigued, you know how quickly flawed mechanics derail progress. Deciding whether conventional or sumo best matches your limb lengths shouldn't feel like guesswork either. This practical guide to deadlifting breaks down the exact technical adjustments required for efficient, pain-free pulling across every repetition.
You'll learn how to lock in a crisp hip-hinge without unwanted spinal flexion, conquer tough sticking points off the floor, and select supportive gear that reinforces intra-abdominal bracing. We will also clear up stance confusion so you can lift with total confidence. From foundational bar path cues to sustainable loading strategies, here is your step-by-step roadmap to building reliable, long-term pulling power.
Key Takeaways
- Master a structured setup sequence to lock in midfoot balance and eliminate lower back rounding in this comprehensive guide to deadlifting.
- Assess your limb proportions to determine whether the conventional or sumo stance offers the strongest mechanical leverage for your build.
- Diagnose whether your pulls fail off the platform or at lockout, applying targeted technical fixes to blast through stubborn plateaus.
- Learn how rigid lever belts and specialised lifting straps reinforce intra-abdominal pressure and bypass grip fatigue for safer heavy training.
Step-by-Step Setup: Mastering the Conventional Deadlift Mechanics
Executing a textbook pull starts long before the plates leave the platform. In competitive powerlifting and general strength training, the deadlift serves as an unmatched test of posterior chain integrity. Any dependable guide to deadlifting must treat the barbell as an anchor around which you wedge your body, ensuring the load moves in a strict vertical line. Maintaining midfoot balance distributes mechanical tension evenly between the hamstrings, glutes, and quadriceps, which shields your lower back from excess shear stress.
To see these foundational setup principles applied step by step, watch this helpful breakdown:
The Five-Step Starting Checklist
A repeatable setup removes guesswork when heavy weights enter the equation. Run through this quick checklist on every repetition:
- Foot placement: Stand with feet hip-width apart, bisecting the barbell directly over your midfoot shoelaces.
- Grip: Hinge at the hips with soft knees, taking a firm grip just outside your shins.
- Shins to bar: Bring your shins forward to touch the knurling without bumping the bar forward.
- Chest up: Set your back by pulling your chest proud while keeping your hips high and loaded.
- Floor drive: Push the floor away like a leg press instead of jerking upward with your arms.
Pulling the Slack and Lat Engagement
Never yank a stationary bar off the floor; if you don't remove barbell slack first, the load will pull you out of position. Wedge your hips in tight and pull upward on the barbell until you hear the collars click against the plates. At the same moment, squeeze your armpits shut as if bending the steel shaft across your shins. This locks your latissimus dorsi, stabilizes your spine, and prevents energy leaks during the pull.
Conventional vs Sumo Deadlift: Choosing the Stance for Your Anatomy
Online debates often treat sumo and conventional deadlifts like ideological rivals. In reality, your hip socket depth, femoral neck angle, and torso proportions should dictate your stance. Neither style is cheating; each recruits muscle groups differently based on skeletal geometry. Even structured testing criteria, like the official deadlift protocol, prioritise spinal neutrality and solid lockout over stance dogmatism.
Biomechanical Differences and Joint Demands
Conventional pulling creates longer spinal moment arms, which requires tremendous lumbar erector endurance and hamstring tension. Sumo pulls position your pelvis closer to the barbell, keeping your torso noticeably upright. While sumo shortens total bar travel and cuts down spinal shear stress, it places heavy demands on hip adductor mobility and initial quad drive.
How to Test Your Mobility and Hip Structure
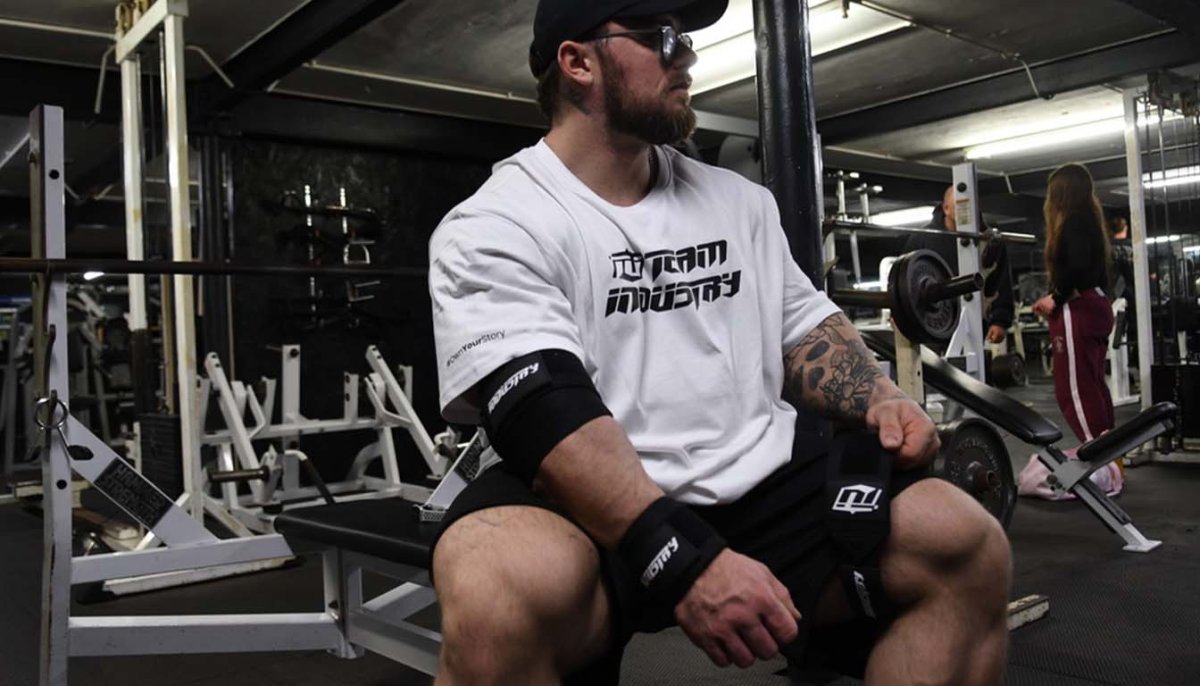
Assess your structure with a deep bodyweight squat. If your pelvis tucks under early or your hip joints pinch in wide positions, don't force a sumo setup. Lifters with shallow hip sockets often excel out wide, whereas deeper sockets favour narrow foot placement. Any complete guide to deadlifting encourages experimenting across training blocks to find your strongest groove. Pairing proper stance mechanics with supportive tools, such as a rigid Team Industry lifting belt, helps you maintain maximum intra-abdominal pressure as the weights climb.
Diagnosing Sticking Points: How to Fix Common Deadlift Faults
A failed lift rarely happens at random; it exposes an exact mechanical breakdown. Pinpointing precisely where the barbell halts allows you to address the underlying positional flaw instead of stripping weight without a plan. When your grip begins to unravel, your central nervous system triggers protective neuromuscular inhibition, instantly reducing force output before your legs and back finish the job.
Correcting Off-the-Floor and Mid-Shin Stalls
Stalling right off the platform usually signals weak quadriceps drive or setting your hips too low. Incorporating deficit pulls from a one-inch platform builds explosive leg drive by demanding greater initial knee flexion. If you consistently miss around mid-shin, your upper back probably rounded during the initial pull. Programme paused deadlifts holding two inches off the floor for two seconds to master midfoot balance and eradicate slack.
Securing Lockout and Correcting Spinal Drift
Lockout failures often occur because the bar drifts forward away from your centre of gravity. Squeeze your glutes forcefully forward into the bar rather than hyperextending your lumbar spine at the top of the repetition. Keep your lats clamped tight so the barbell stays dragged against your thighs throughout the entire extension.
When hand fatigue limits your pull volume on heavy working sets, lock down your connection to the barbell with Figure 8 lifting straps to overload your hips without technical breakdown. Applying this targeted guide to deadlifting sticking points transforms frustrating training plateaus into consistent strength gains.
Essential Deadlift Gear: Maximising Leverage and Grip Security
Flat-soled shoes or deadlift slippers eliminate heel compression, shortening the total pull distance while keeping your centre of mass anchored directly over midfoot. Beyond footwear, technical support gear serves as structural reinforcement rather than an excuse for sloppy form. Any complete guide to deadlifting must explain how purposeful equipment refines mechanics, prevents premature grip failure, and safeguards spinal alignment during heavy sessions.
Lever Belts and Intra-Abdominal Bracing
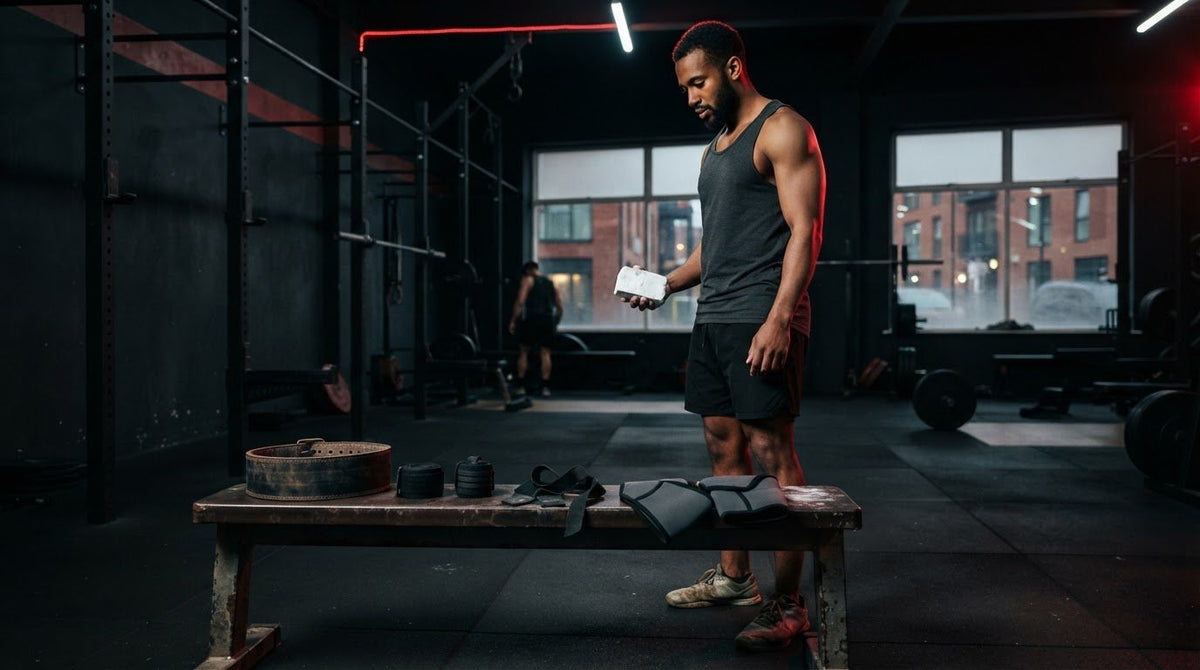
A dedicated weight lifting belt offers rigid 360-degree feedback for your torso. Taking a deep diaphragmatic breath and bracing outward into dense leather spikes intra-abdominal pressure, locking your spine against shearing forces. Athletes who need versatile support across diverse body shapes often prefer a 10mm lever belt. Lifters demanding maximum rigidity for heavy powerlifting attempts benefit most from the unyielding structure of a 13mm lever belt.
Grip Aids: Straps versus Chalk
Grip fatigue shouldn't prevent you from fully loading your posterior chain. Applying liquid chalk dries perspiration and heightens friction against the steel knurling, which makes it essential for developing raw grip security. When training volume and overload work outpace your hands, deploy straps. Heavy pulls benefit enormously from Figure 8 lifting straps, which loop securely around your wrists to stop bar slippage completely. For accessory movements or cluster pulls where you need a fast release, classic lifting straps deliver steady control without locking you to the bar.
Put Your Technique Into Practice and Build Resilient Pulling Power
Consistently moving heavy iron demands patience, technical discipline, and smart programming. As outlined in this guide to deadlifting, wedging your body into the bar, respecting your unique hip anatomy, and diagnosing sticking points turn frustrating training plateaus into steady personal records. When you commit to a repeatable setup routine and push the floor away like a leg press, you protect your spine while unlocking tremendous posterior chain force.
Reinforce your training foundation with dependable equipment built for competitive British powerlifters and strongmen. Featuring heavy-duty reinforced leather construction designed to endure maximum training loads, our kit is engineered to withstand rigorous daily gym training across the UK. Don't let grip slipping or unstable bracing limit your potential. Upgrade your training setup with professional-grade gear from the Team Industry Strength Collection. Step up to the barbell, trust your preparation, and own every repetition.
Frequently Asked Questions
Should I deadlift with a conventional or sumo stance as a beginner?
Beginners should generally start with the conventional deadlift to build foundational hip-hinge awareness and posterior chain coordination. This stance teaches vital mechanics that translate directly into athletic tasks and daily lifting. However, if your hip architecture causes sharp pinching during narrow setups, shifting to sumo provides a practical alternative. Test both stances with moderate loads to see which allows a neutral spine and comfortable hip tracking.
Why does my lower back round when pulling heavy weights from the floor?
Lower back rounding usually stems from setting up with the barbell too far ahead of your midfoot or failing to build rigid intra-abdominal pressure. When the bar drifts forward, the spinal moment arm lengthens, placing severe shear stress on your lower back. It also occurs if your hips shoot up prematurely because of weak quadriceps drive. Keep the bar flush against your shins, clamp your lats down, and push the floor away.
Is using lifting straps considered cheating when building deadlift strength?
Using lifting straps isn't cheating; it's a practical training method to overload your glutes and hamstrings without grip fatigue cutting the set short. While competition rules dictate a barehanded grip, straps allow you to accumulate valuable training volume without tearing calluses or exhausting your hands. Deploy straps on your heaviest working sets, and train raw grip strength separately during warm-ups or dedicated grip work.
What is the ideal thickness for a powerlifting belt when deadlifting?
A 10mm lever belt is the ideal thickness for most lifters because it provides rigid bracing feedback without pinching severely at the bottom of the pull. If you're a heavier powerlifter or have a longer torso requiring unyielding rigidity, a 13mm belt provides unmatched intra-abdominal pressure. Choose 10mm if you need mobility to wedge deep into your setup, and select 13mm for absolute stiffness under maximal loads.
Can I deadlift in running shoes with cushioned heels?
No, you shouldn't deadlift in cushioned running shoes because compressible foam heels create an unstable base and leak valuable kinetic force. Soft soles squash unevenly under heavy loads, which tilts your balance forward and artificially increases the distance the bar must travel. As highlighted in this guide to deadlifting, stick to thin, flat-soled shoes or deadlift slippers to drive force directly into the platform without losing stability.
Share:
Deadlift Belt Placement: How to Find Your Optimal Position for Maximum Bracing
Smelling Salts for Powerlifting: How Strength Athletes Safely Maximise Focus